31 July, 2012

Port Angeles, WA

We arrived in Port Angeles before sundown, and tied up to the transient dock. Inspected our engine cooling intake and found some cool little critters in there!
Dock at Port Angeles
http://www.portofpa.com/marinas/port-angeles-boat-haven.html
 

Engine Intake Strainer with bits
Stowaway

Strait Of Juan De Fuca

We were feeling rested after our overnight trip, so we skipped Neah Bay and just kept going to Port Angeles. So glad we did, because we made record time sailing through the Straits of Juan De Fuca.                               

Moving right along.
Cape Flattery behind us.


30 July, 2012

Astoria, OR to Neah Bay, WA

Monday 7/30/2012 - Astoria, OR to Neah Bay, WA

While having breakfast we listened to the weather and bar report.  We checked the web as well and the conditions were calm for the Columbia River Bar crossing. Slack water was around 1230 so with mild conditions we decided to leave Astoria early around 0830 to take advantage of some of the ebb tide that was still running.

After crossing the bar and clearing the channel buoys, we turned north, and headed for longitude 124 deg 55. This route is farther out than most cruisers go - 30 miles out at Grays Harbor and coming in about 10 miles from the coast at Cape Flattery.  This route was recommended to us by other cruisers to avoid the crab pots that are closer to shore, especially if you are traveling at night.  We took this route coming down a couple of years ago and we didn't snag a crab pot.

We had an uneventful night motoring up the coast. It was quite chilly and wet so we decided to cut the watches from three hours to two.  With the radar and AIS combined, we were able to correlate the targets and see what fishing vessels or container ships look like on radar.

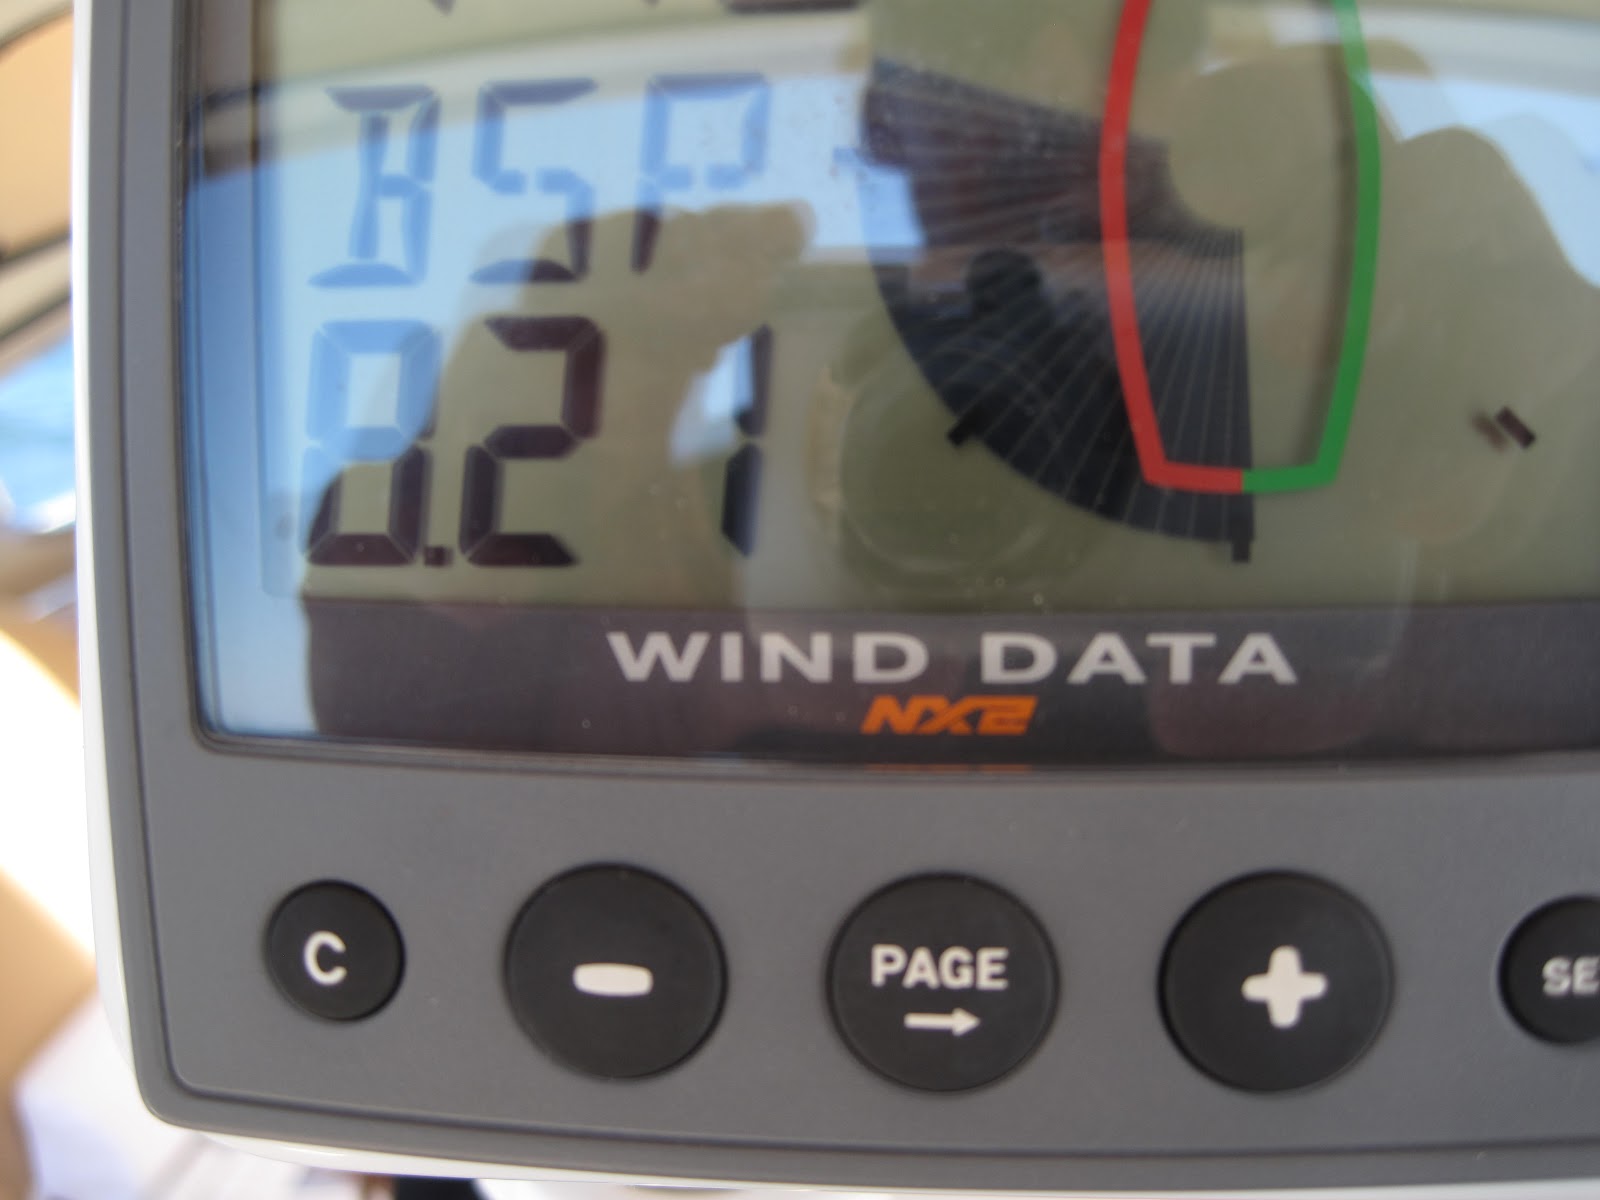
We rounded Cape Flattery around noon on Tuesday. At this point, we had two options.  One was to stay at Neah Bay just around the corner from Cape Flattery and rest. The other option, if we were feeling rested, was to continue to Port Angeles.  The wind was fairly strong from the west (behind us) and the current was headed in the same direction.  We called Bill for a weather check. There was a strong wind warning in the Straits of Juan de Fuca.  We decided to continue on to Port Angeles.  We both felt rested, the sun was shining and the conditions were in our favor.  We called Port Angeles and arranged for a spot on the transient dock, which is recommended if you are arriving after hours. At one point heading down the strait we recorded speeds of 8.5 knots! We made it to Port Angeles just before sundown.  We rinsed off the boat and had a delicious dinner and bottle of wine. The run to Port Angeles set us up nicely for a short sail the next morning across the Straits of Juan De Fuca to Victoria, where we planned on staying for a couple of days and then exploring the Canadian Gulf Islands.

Crossing the Columbia River Bar
 
Bouy 1 with guests

                
Passing Close to Research Bouy

29 July, 2012

Rainier, OR to Astoria, OR

Sunday 7/30/2012 - Rainier, OR to Astoria, OR
It was sunny with light wind on Sunday so we motored from Rainier to Astoria.  It was finally setting in that our trip we had been planning for so long was a reality.  We kept an eye on the engine and alternator belts constantly that day and monitored the weather to make sure we were going to be able to cross the Columbia Bar on Monday.

We pulled up to the docks in the Astoria West Basin in the afternoon.  The winds had kicked up considerably. While we were getting the boat secured with the dock lines, a huge motor boat crash landed into the slip next to us. I rushed over to help.  One of the guys on the boat threw me a dock line that wasn't attached to the boat.  He let go of all of the line and I ended up with a slack line to nothing! They finally got the boat secured after a few more bangs into the dock and angry shouts at each other.  We left Bliss to pay the dock fee at the marina.  A few minutes later the attendant for the marina came over and asked us if we had looked at our depth. He said that they were experiencing some pretty drastic tides at the marina and we may want to consider moving from the dock because it could get quite shallow.  We looked at the depth sounder and the reading was six feet! We fired up the engine and quickly moved to an empty slip.  A little while later, after we got settled, we witnessed another crash landing. A couple in a large sailboat, ended up sideways to their slip.  We heard a big crack as their boat made contact with the dock and another boat.  What a day!

As the sun set, we made our final preparations for our transit up the coast and checked the conditions for the Columbia Bar crossing. Here is our preparation list for the next leg:

Take down grill
Sail tie on sail cover
Secure below
Check steering cable and rudder post
Upload GPS waypoints to cockpit
Check anchor and insert Nerf balls into chain locker holes
Rig jacklines
Tethers and strobes out
Turn dorades around
Check engine oil
Check transmission oil
Check coolant
Check belts
Check engine intake strainer
Check Racor Vacuum gauge after startup
Check propeller shaft
Inspect batteries
Take cover off man overboard module
Lash down anchor
Gloves and hats out
Prepare meal plan
Weather check
Rig main halyard
Check lifelines and stanchions
Check water level and top off
Draw up watch schedule
Check navigation lights
Douse WiFi antenna
Take TV down

Watch Schedule
2100-2400 Sean
0000-0300 Geralyn
0300-0600 Sean


28 July, 2012

Portland, OR to Rainier, OR

We had been planning this trip and preparing the boat for months.  The departure day was finally here.  We were well provisioned and just received a shipment of tools and accessories from the Meyer girls at Ace Homeworks - (love them!), we were all set.  It was the beginning of our adventure.  

We left the marina with clear skies at 0730 to the music of Richard Strauss' Also Sprach Zarathustra (better known as the opening music to 2001 Space Odyssey) playing from our friend Matt's boat.  Very moving.
 
When we brought Bliss home from Seattle we navigated the Columbia River at night and found that it was not the most fun thing to do.  Since this was our vacation and we had time, we decided to travel on the river by day only.  Rainier is about halfway between Portland and Astoria on the river so we decided to stay there on Saturday night.  After clearing the Interstate Bridge and Vancouver KQ9049 Railroad bridge we headed down river to our first destination.  

About an hour before reaching Rainier, I (Sean) went below to make lunch.  I heard a loud ticking noise coming out of the engine compartment under the companionway steps.  I opened the top step and the noise got louder.  I knew this was not a normal sound and decided to investigate further. I removed the companionway steps, which gives full access to the engine, and noticed one of the alternator belts was coming apart.  We got the boat out of the traffic lane and turned off the engine.  I cut the remainder of the belt off with a knife to prevent it from damaging anything.  We started the engine back up and motored slowly to Rainier.  We managed to get to the docks without any problem.  Even though we had a spare belt, we decided to buy a replacement rather than deplete our spares. We had not replaced the two large alternator belts before so we called our friends Bill and Yvonne for some advice on how to replace them. Bill assured us that it's quite easy.  We called a cab to get us to the auto parts store in Longview to pick up replacement belts.  We weren't sure we were going to see Bliss again when the redneck driver of the dark-tinted-window cab started talking about guns - especially after we saw how excited he was about his assault rifle that he keeps above his bathroom door. :) 

After returning safely to the boat we set about replacing the belts (we found out that we have to replace both belts at the same time). Bill was right, it was actually quite simple. The adjustment arm made tensioning the belts easy. We fired up the engine for about five minutes and monitored the movement of the belts and the motion looked good.

While we were working on the engine, we heard another boat pass by and then some shouting and a motor rev up.  Boom!  Another sailboat had hit our bow pulpit as they were trying to dock.  Fortunately, there wasn't any major damage to either boat.  Phew!

We broke and alternator belt coming out of the river. We managed to fix it fairly quickly, so we made a nice dinner to celebrate our first breakdown of the trip!


New Alternator Belts
 
Broken Alternator Belt
Dock at Rainier
http://marinas.com/view/marina/3833_City_of_Rainier_Marina_OR_United_States


18 July, 2012

Leather Wheel Cover

This past weekend, Geralyn installed a wheel cover. It took hours to herringbone stitch the leather cover on the wheel, but it looks and feels great!


Monel Rivets For Mounting Radar Reflector To Mast

This weekend we installed a Tri-Lens Radar reflector on the mast. The instructions called for monel rivets to mount the aluminum bracket that holds the radar reflector. Pretty happy with how it turned out.
I was so nervous going up the mast that I forgot to take a picture of the radar reflector!

Solar Panels From Above

I thought it would be interesting to take a picture of the solar panels from above and see how it matched up with my imagined placement of the solar panels. Not bad!

27 June, 2012

05 June, 2012

NMEA over TCP/IP

Our boat systems use the old NMEA0183 standard for communications. Regardless, there are ways to tie these old communication systems into modern ones. Here's a cool way that I found to relay onboard navigation info to my IPod touch.

Rose Point Coastal Explorer (CE) software has the ability to serve as an NMEA server. You simply enable NMEA server in the CE configuration. If you have a wired or wireless network onboard (easy to do with a Linksys or Netgear 12v router), you simply point other devices that are networked, to the IP address of the NMEA server, and you can get any information that the NMEA server has.  I wanted to be able to test cheaply, so I found this app called NMEA remote.

I enabled NMEA server in CE, then configured NMEA remote to get data from the NMEA IP address.
Now my IPod touch, or IPhone, or IPad will display position, course, speed, depth etc.


01 June, 2012

Blog Post From Radio Email #2

<No message body found>

Test Post To Blog From Radio Email

<No message body found>

18 May, 2012

Riverplace Cruise

This week, we took the Bliss downtown for a little mini-cruise. This involves crossing under, or lifting nine bridges. Luckily, we did not have to lift the most critical of the bridges, the I-5 Interstate Bridge on the Columbia River. Lifting this bridge is a big deal because it backs up traffic on a major interstate. Lifting the bridge is highly restricted during certain hours. We managed to make it under by four feet. Going under the bridge is very unnerving because from below, it always looks like we are going to touch.
Next bridge is the Vancouver Railroad Bridge. The bridge operator opened for us, and we motored down the Columbia and around Kelly Point to the confluence with the Willamette River. The Willamette runs through downtown Portland. Our first bridge going up the Willamette is St Johns, which is one of the prettiest bridges. The bridge is 200 feet high, so we did not have to raise it. Next bridge was another railroad bridge. This bridge was already raised, but as we were approaching, it closed. No problem. We called the bridge operator on the radio and he said to wait a little while for a train to come through. We told him that we would need 60 feet after the train went through. He raised to 62 after the train, and across we went. Next bridge up on the Willamette is the Freemont Bridge. The Freemont Bridge is 175 feet, so no need to raise that one. Next up is the Broadway Bridge. Broadway Bridge clearance was 80 feet, so no need to raise that one. Next up was the Steel Bridge. The Steel Bridge is currently at 17 feet, so we called on the radio and asked for a lift. Bridge operator told us that there was a train and several light rails coming through, and to wait for 30 minutes. After about 30 minutes, the train was done, and he opened to 62 feet. We crossed under the steel bridge, and made contact with Hawthorne bridge, who kind of coordinates with some of the other bridges. After some discussion about our mast height, river levels and bridge clearance, they decided to lift all three, Burnside, Morrison and Hawthorne for us. This was relief, as we hate to go under bridges and have marginal clearance.
We found a nice little slip on the inside break wall at River place, and we expect to be here for a couple of days. We want to return to Portland Sunday. The marathon is that day, and starts at 0800, so we need to be through the Hawthorne Bridge at 0700.

08 May, 2012

AIS Tracks

This past weekend, we took the Bliss out for a sail. We did a downwind run with several gybes, then turned upwind. The wind was 10kts. She sails like a dream with her new sails and rigging. We also had a chance to test the AIS and tracks. Glad to say the AIS is still working as designed.

04 May, 2012

12 Volt LED TV


We bought this 12 Volt LED TV with a retractable arm. I was a little worried about mounting on the bulkhead, especially since the forward berth is on the other side. Our friend Bill, who is an all around wizard came over, and suggested carriage bolts, that have a smooth head. The carriage bolts turned out great!

Defective Comnav AIS Transceiver Update

The Comnav Mariner AIS that I installed a few weeks ago turned out to be defective. After installing, I checked my transmission history, and found that I was only transmitting about once a day if lucky. I brought this up to Comnav support, and initially, they insisted that I had misconfigured the settings. I exchanged setting and screen captures with them, and they finally agreed that the unit appeared to be defective in the transmission area. When I brought this up to my local vendor, he too doubted that it was the unit, and said that most likely, I had misconfigured the unit. He said that they had sold dozens of these units, and never had a problem. I stuck to my guns and sent the unit back to Comnav. After a few weeks and some prodding, I got a new unit and reinstalled. I'm happy to say that the new unit is behaving normally, transmitting every 15-20 minutes, and verifiable through http://www.marinetraffic.com/.

I wonder how many fishermen or sailors install the unit, test once and walk alway, thinking that this important collision avoidance system is working as designed. It's important to check that the technology is working as advertised.

09 April, 2012

Solar Panel Project Part 2

This past weekend, we installed all the wiring from the panel to the charge controller and from the controller to the batteries. We also drilled a hole and installed a cable through-hull to run the cable inside the boat. For the cable, we used a mix of 10 awg and 8 awg. We used 10 awg to make the connections at the panel because 8 awg would have been too difficult to route inside the junction boxes. We used 8 awg for the run from the panels to the batteries in order to have less than 3% loss according to these calculations:

Each panel watts = 140w

Panel rated voltage = 17.7v

140/17.7 = 7.9 Amps

7.9 Amps x 2 (2 panels) = 15.8 amps

Cable run length = 30-40 ft

According to this guide:

http://www.projectfreepower.com/solar-wire-gauge-awg-calculation

We need 6-8 awg cable in order to have less than 3% loss. We had a look at 6 awg, and decided that it was way too big to run and bend around inside the boat, so we settled on 8 awg. We found these super awesome step-down (8 to 10 or 12 awg) butt connectors that are also heat shrink, so we used those wherever we had to splice the cable. Here are some pictures of the second part of the project.

We taped large dark garbage bags on the panels to prevent from getting shocked when making the connections, but noticed that the panels were still producing quite a bit of amps and volts, so we put the cockpit cushions on top and water jugs to prevent the cushions from flying off.


 This is the hole hole for the cable, and the mounting holes for the cable through-hull


 This is what the cable looks like once inside the boat. We put a "drip loop" in case water gets in, it will not travel to the controller.


 This is a "service loop" in case we ever need to lengthen the cable or put in a junction box for another panel.
 These are the super cool 8-10/12 step-down heat shrink butt connectors. The picture taken after crimping but before heat shrinking.


 The negative cable from the charge controller goes to the load or ground side of the shunt.


 The orange cable is the positive cable from the controller to the batteries. There is a 25 amp fuse in-line, within 7" of the battery.


 Below is the junction box with the leads going to the next panel.


 This is what the cable through-hull looks like from the outside.


 Below is the junction box with one pair of cables coming from the next panel, and a pair of cables going towards the charge controller.


 Below is the open controller. The top set of leads goes towards the batteries. The bottom set of leads goes towards the solar panel array. There is also a 2 amp load going to the starter battery.


Here's the controller sealed up and putting out 14.6 amps. Below the controller is another 25 amp fuse on the positive cable from the solar panel array.


25 March, 2012

Solar Panel Project Part 1

This past weekend, we mounted two solar panels on top of the bimini. We had done a survey a while back, and due to the location of our backstays, decided that that the Kyocera 135 watt panels would fit nicely in between. Between the survey and the purchase date, Kyocera came out with 140 watt panels that are the exact same measurement as the 135s, but 5 watts more per panel. Also, the solar panel frame has been reinforced a little. We bought the panels along with aluminum mounting brackets, and they fit perfectly. We had put the mounting brackets onto the panels, and were in the process of adjusting the crossbars, when one of the stainless steel screws on the bimini seized up and broke, so we decided to remove all the screws on the rails and put lanocote on the screws to prevent that from happening again. We wanted to be perfectly happy with the solar panel mounting situation before running any cables, so now we can go on to part 2, which is running the cabling from the panels to the charge controller, and from the controller to the batteries. We thought long and hard about where to locate the charge controller, and finally found a place in the lazarette that is completely useless otherwise. We mounted a 9" x 12" pice of wood to the fiberglasss using West System Epoxy adhesive for fiberglass and wood. We really like this adhesive. It has a mixing nozzle, turns to gel in 40 minutes, and completely cures in 5 hours. We used in a few months ago on the bowsprit, and it's holding up really well. We were able to keep the wood flush to the fiberglass with duct tape. So far this project has been really fun. Maybe it just seems that way after the sanitation hose : ). We were able to get out on the water this weekend too. After putting the autopilot back together, we had to do the sea trial adjustment and settings. We were able to do most of the test, but had to leave auto adjust for another day. The auto adjust takes over the helm, and does a series of S turns to auto adjust the autopilot. We also have to test the autopilot under sail. With spring chinook salmon in full swing the river is elbow to elbow with fishing boats, so we had to skip that part. Otherwise the autopilot works well now. We are so happy about it, since we are not looking forward to hand steering up to Puget Sound in the summer!